Shop by Vehicle

Tools & Materials
Headlight Sealant and the Tools to Reseal It Right
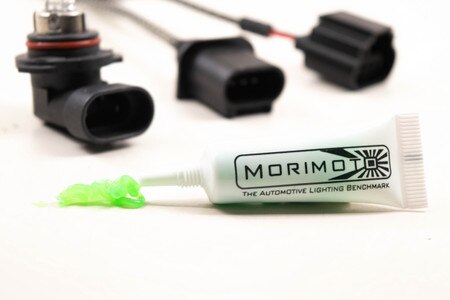
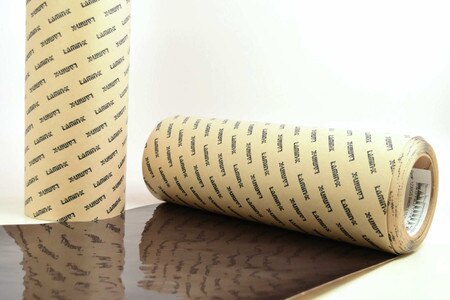
Fog or water inside a headlight almost always traces back to one thing: the seal between the lens and the housing has failed, either the factory seal breaking down with age or the butyl sealant from a prior retrofit never fully curing. It rarely means the housing itself is damaged. Once you treat it as a seal problem rather than a housing problem, the fix is straightforward: open the housing cleanly, strip out the old sealant, and reseal it with the right materials and process.
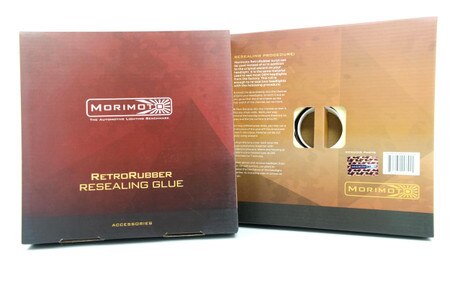
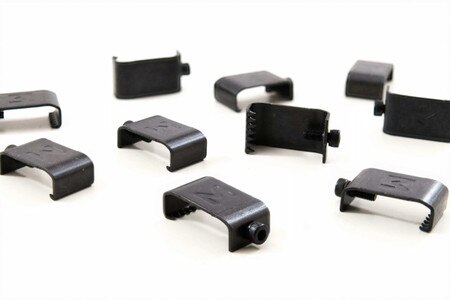
When replacing the sealant on a headlight, you should preheat your oven to 275°F and bake the headlight for 10 to 15 minutes to get butyl sealant pliable enough to separate the lens from the housing or bond to it, then press the lens into the channel and clamp the perimeter while it cools. Skip heating the headlight or rush the clean-out of old sealant, and you trap air bubbles that reopen the leak you just fixed.
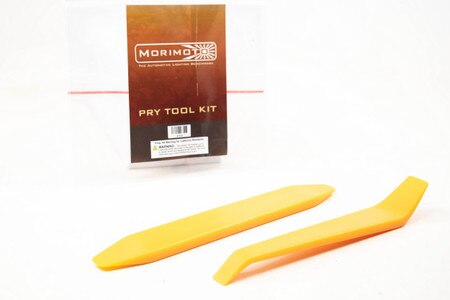
The tool you pry the housing apart with matters almost as much as the sealant you close it back up with. A flathead screwdriver concentrates pressure on one spot and tends to crack the lens or gouge the housing lip. A Sealsplitter spreads that pressure evenly between the lens and the housing, which is why it is the standard tool for opening a baked housing before any reseal. From there just clean it out, put fresh butyl sealant, heat, press, clamp, and you're good to go!
23 Results